
As we prepare for Valentine’s Day, I’m tickled to share that I have found THE one.
No, not Joshua, even though he’s my Valentine, DUH! 😉
I have found THE cut-out sugar cookie recipe that has me convinced I can’t imagine finding a better one, maybe ever?! It’s delicious, holds it’s shape, quick and easy to make, and doesn’t need to be chilled!
That’s right! A cut-out recipe that doesn’t require chilling, and yet retains its shape! I was SHOOKETH. I wish I could take credit for it, but once I found Katrina’s recipe, there was no need to alter it and make it my own!

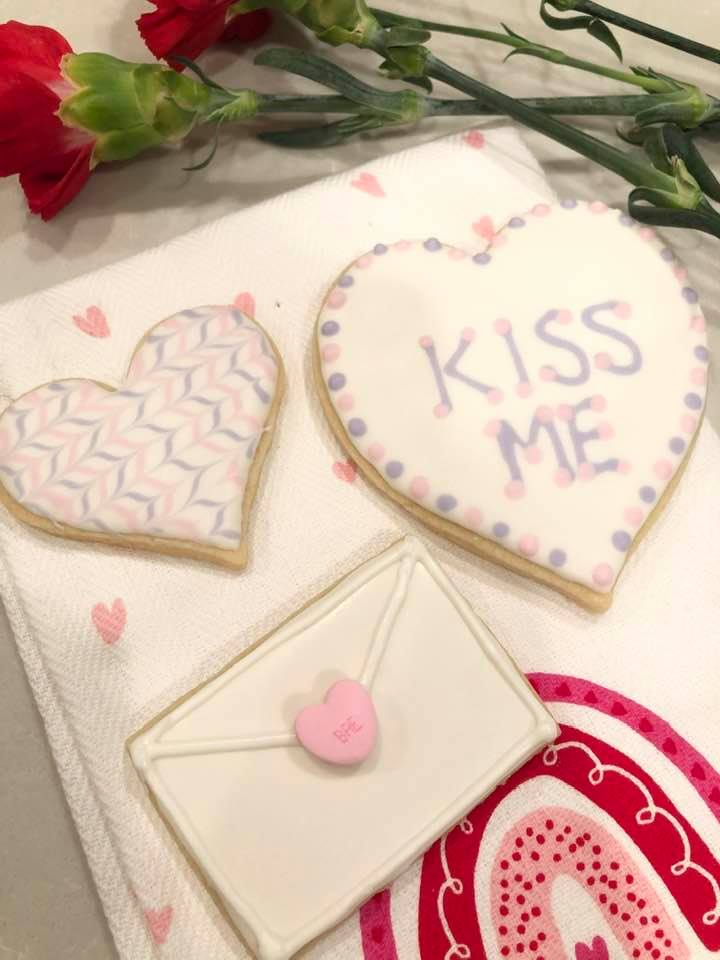
To view the recipe on her site, CLICK HERE! But I’m also going to type it up below, with a few notes from my own personal experience! Please head to her site to see everything that she includes as far as substitutions/alterations/etc are concerned! This is her recipe and she knows it best, and how to troubleshoot should you need to! I will also show you how I decorated them to look like little love notes for Valentine’s Day (and some other designs too)!
Katrina’s Sugar Cookies
Ingredients
- 1 cup unsalted butter (softened)
- 1 cup granulated white sugar
- 1 tsp vanilla extract
- 1/2 tsp almond extract
- 1 large egg (room temp)
- 2 tsp baking powder
- 1/2 tsp salt
- 3 cups all-purpose flour
Instructions
- Preheat oven to 350. Line cookie sheets with parchment paper.
- Beat the butter and sugar until creamed (I'd say 3-4 minutes), making sure to scrape bowl halfway through and after.
- Add extracts and egg, and combine for a minute. I beat my egg a bit before adding! And I'm a HUGE fan of almond extract, so don't leave it out…it's perfect! FYI, McCormick extracts are all nut free (yes, even the almond)!
- In another bowl, SIFT the flour, baking powder and salt. Sifting eliminates the potential lumps that may be in your baking powder. If you've ever tasted a sour bite in your baked goods/pancakes, it's the lumps in your baking powder!
- Add the flour mixture (make sure you're on low), a third at a time until it's all incorporated. Now listen to me, it may look crumbly, but JUST.KEEP.MIXING. It will come together, I assure you. The dough will start to pull away from the sides of the bowl and stay on the paddle! That's when you know it's done!
- This is when you'll take it out and start to roll it to your desired thickness, and cut out the cookies! Then bake at 350 for 6-9 minutes depending on your cookie size and thickness. Unless you want a crispy cookie, don't over-bake this recipe. Pull the cookies out before they ever start to brown…there is no need! If you want a soft cookie, pull them out sooner than you think! Once cooled, you can decorate, or inhale them as is!
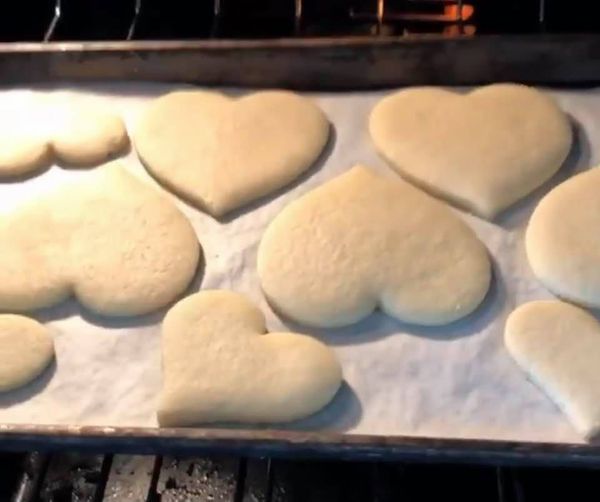
I will share my favorite royal icing recipe as well below, so keep scrolling, but first, we’ll look at the cut-out and baked cookies! And I did an entire story on IG with videos step-by-step….you can watch it HERE!
I like to roll my dough on parchment paper with a tiny bit of flour, and then use the same parchment on my cookie sheets so none goes to waste! If you’re having trouble rolling the dough to a consistent thickness, you have options! You can get a rolling pin with sizing guards you can add to the ends (THIS one is great), OR you can put something on each side of the dough, like pencils, and the rolling pin will stay on top of them, giving you even dough!
Something to note: I made a rookie mistake by putting all of the different-sized cookies on the same sheetI But you’ll want the same-sized cookies on each sheet, because the large ones will take a minute or two longer to bake. Hence, small hearts on one, and large hearts on the other! Envelopes can go with whichever cookie is closest to their size, or on their own sheet completely! These cookies barely spread, if at all, so you don’t need much space in between them, as you can see!
To make the envelopes, you’ll simply cut your dough into rectangles! Size is completely up to you! And you can use a ruler for this, to ensure they’re uniform!
While the cookies bake, I make the royal icing! You can certainly use your favorite butttercream recipe…mine is HERE, but just know if you’re looking for the ‘super smooth, can get hard’ icing, you’re wanting royal, not buttercream. My favorite recipe is Liz Marek’s found HERE on her site, but again I’ll type it up below so everything you need is in this one post!
Liz’s Royal Icing
Ingredients
- 2 lbs powdered sugar (sifted)
- 5 oz pasteurized egg whites (in the carton)
- 1/2 tsp cream of tartar
- 1 tsp vanilla extract (use clear if you want super white)
Instructions
- Sift the powdered sugar and cream of tartar into a mixing bowl, then add the eggs whites, and start whipping them together with the whisk attachment.
- Mix on low to combine them without exploding sugar all over the place, then increase it for a couple of minutes. Add your vanilla extract, and whip until white, which might take another three minutes or so!
- Make sure you store this icing in an air tight container! This is the consistency of thick royal icing, and is ready to be thinned as needed!
Once baked, let them cool, and then it’s time for the decorating process! There are so many great people you can find online that will show you step-by-step instructions on how to decorate beautiful sugar cookies, but this post is all about the envelopes! If you recall, I showed you how to do something similar with rice krispie treats last year, HERE! This year, we’re doing it on a sugar cookie.
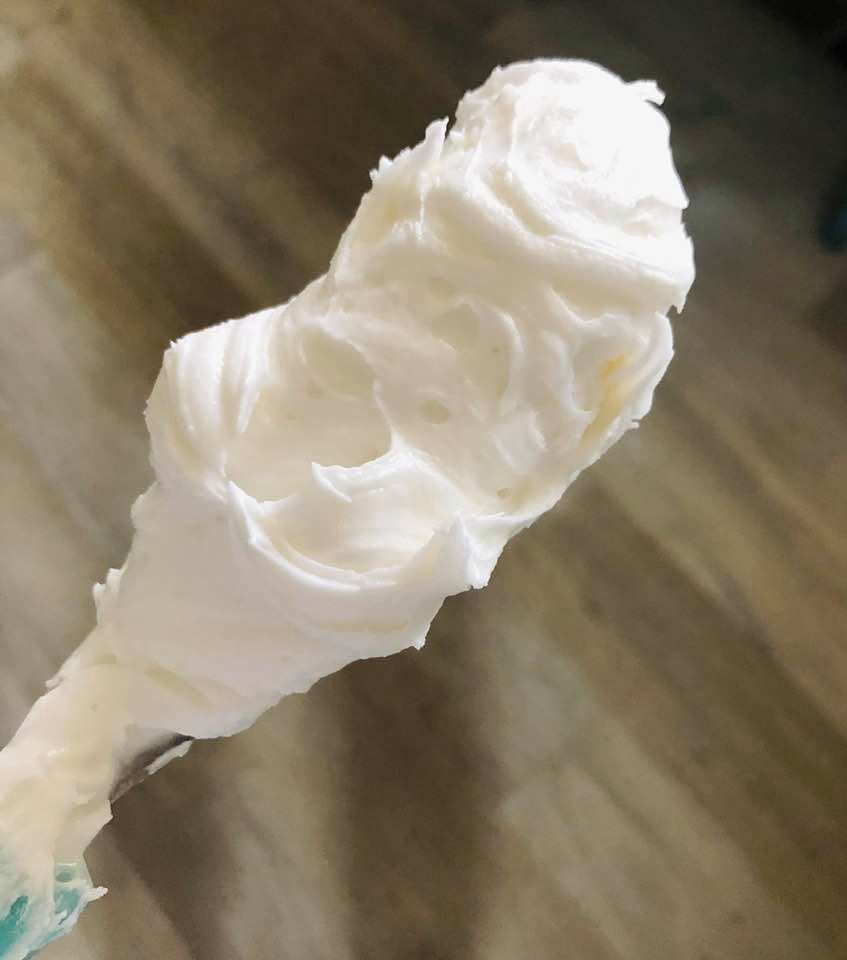
I tend to have three levels of icing thickness when I’m decorating; the original recipe (used to hold things together like gingerbread houses), the piping thickness (finishing touches), and the flooding icing (to cover the cookies). It may take a little practice and patience to figure this out, but the recipe I linked makes A LOT, so you’ll have plenty to play around with!
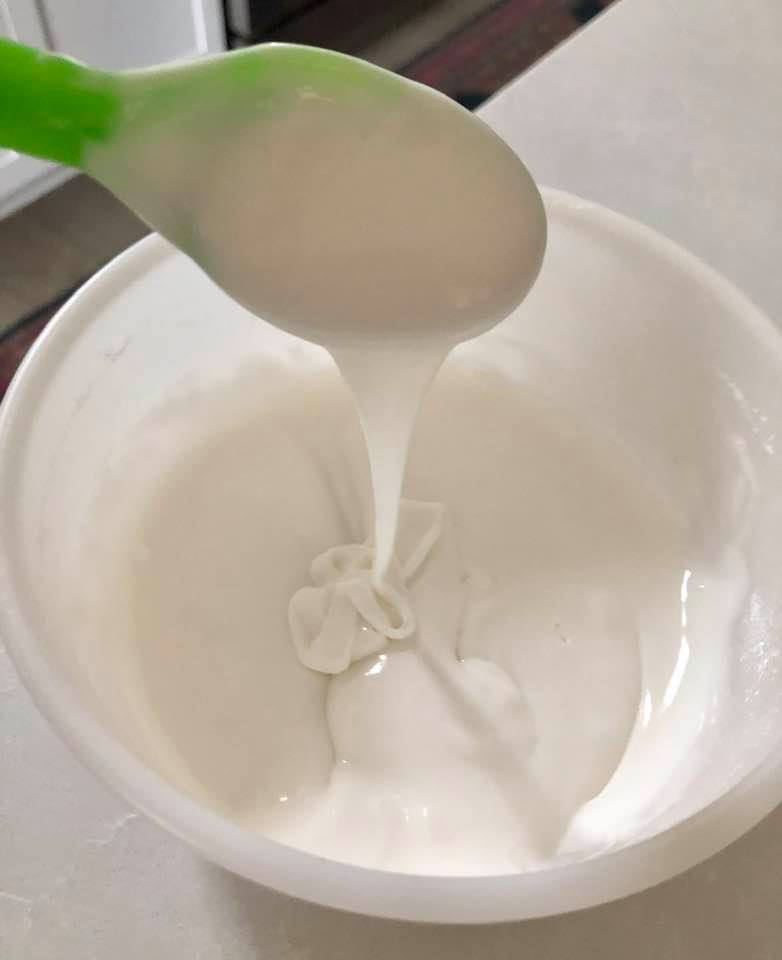
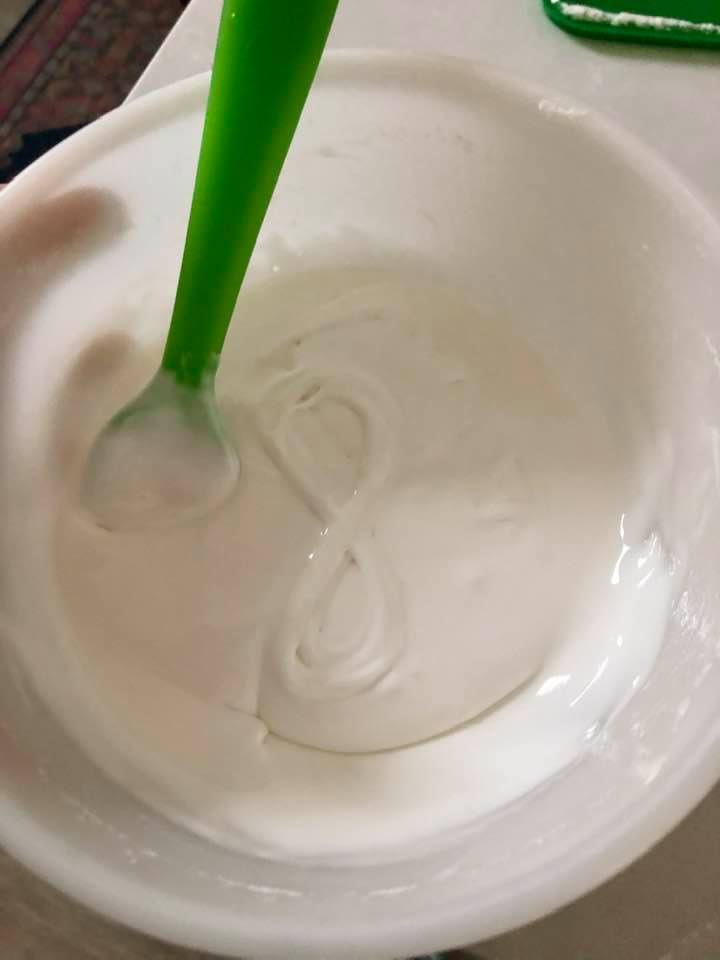
Start by thinning out some of the royal icing recipe with a few drops of water. Just a tiny bit at a time until you get icing that can make a figure 8 with the icing and hold its shape for a few seconds before dissolving. This is called “flooding icing” and it’s meant to be easily spreadable!
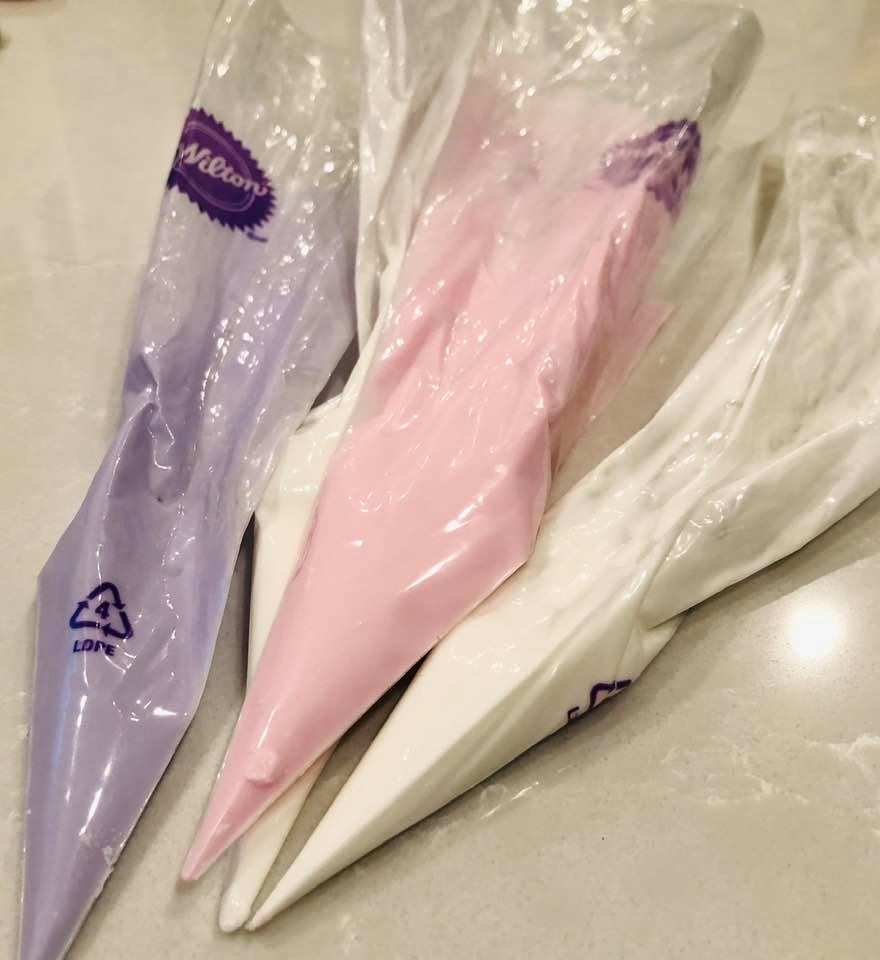
Put it in a piping bag (or ziploc), and cut a TINY hole in the tip. Smaller is better; you can always take more off!
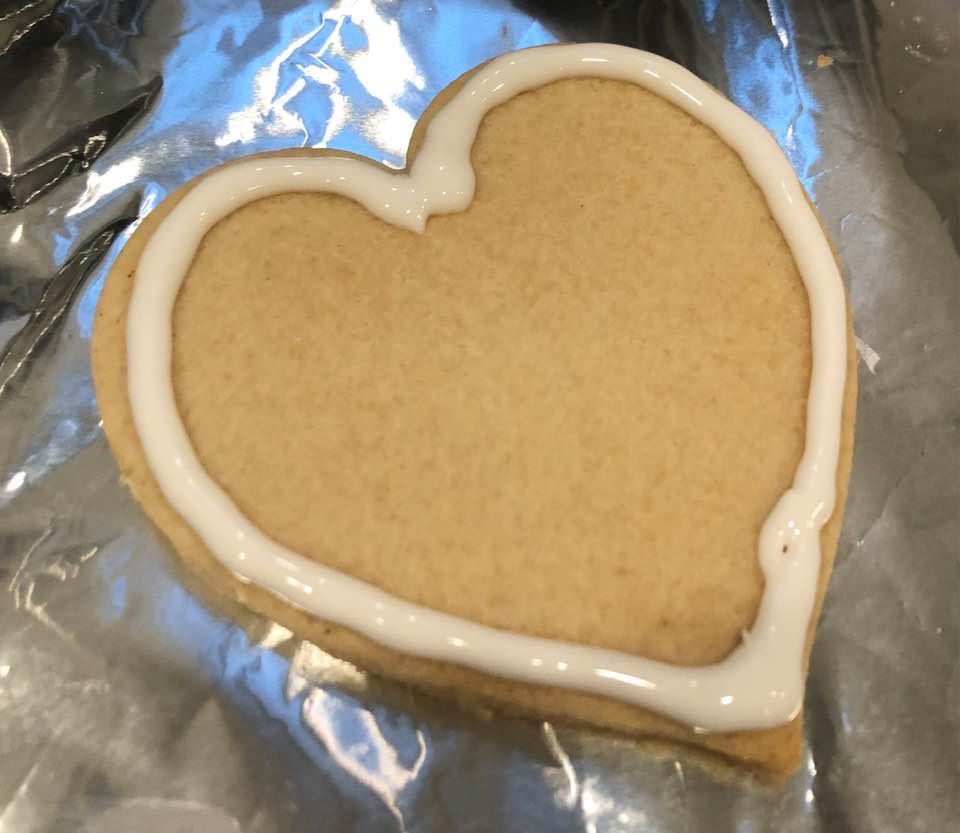
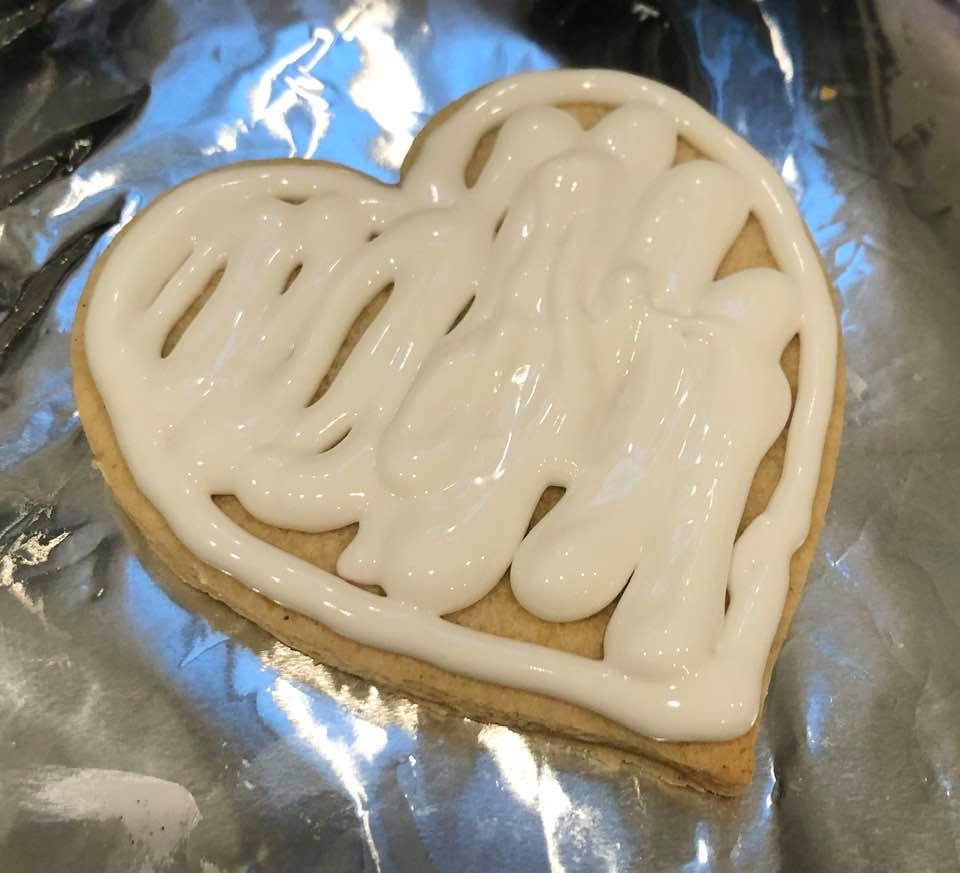
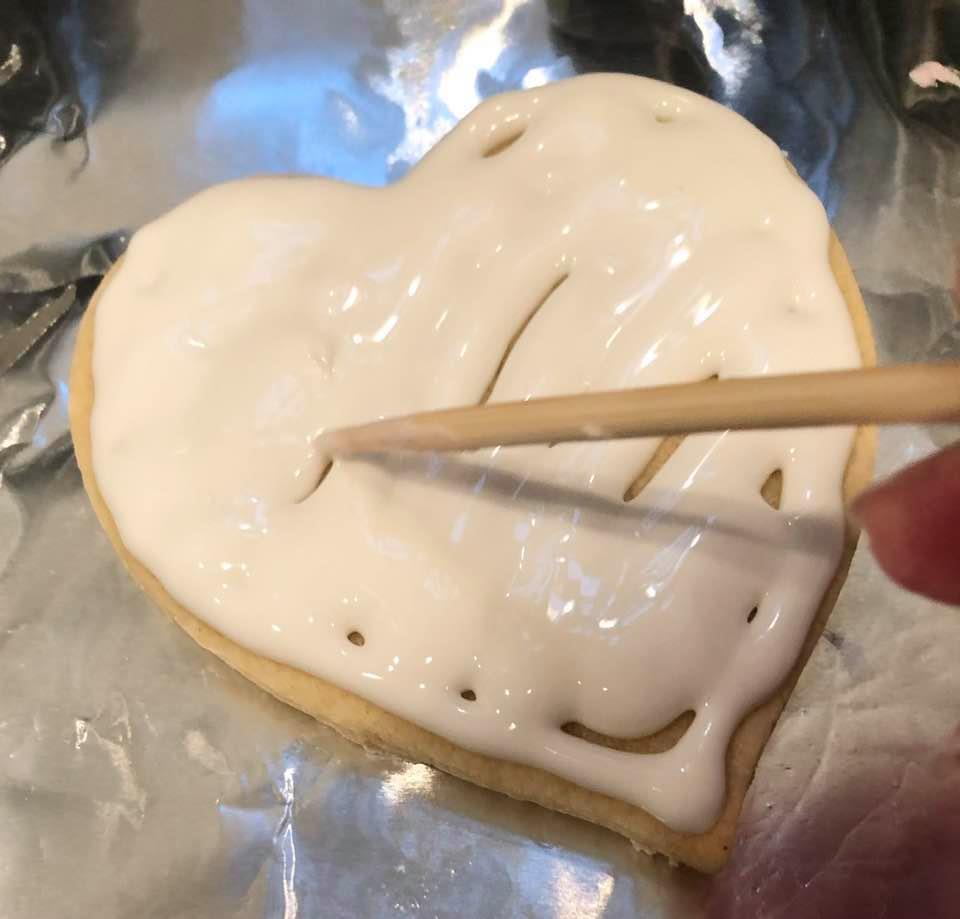
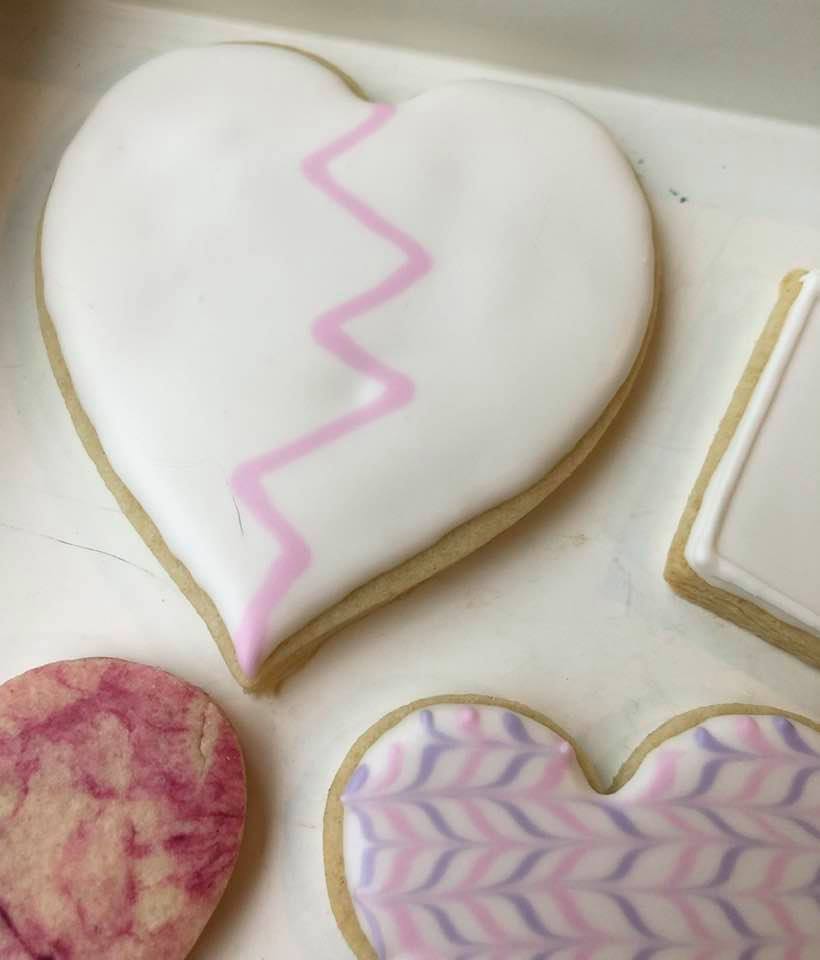
I start by lining the edge of the cookie, then fill it in with the icing. I spread it out using a skewer, and it enables me to get into the tiny spots easily! I’ll show you this with the heart cookie, but use the same idea for the envelopes!
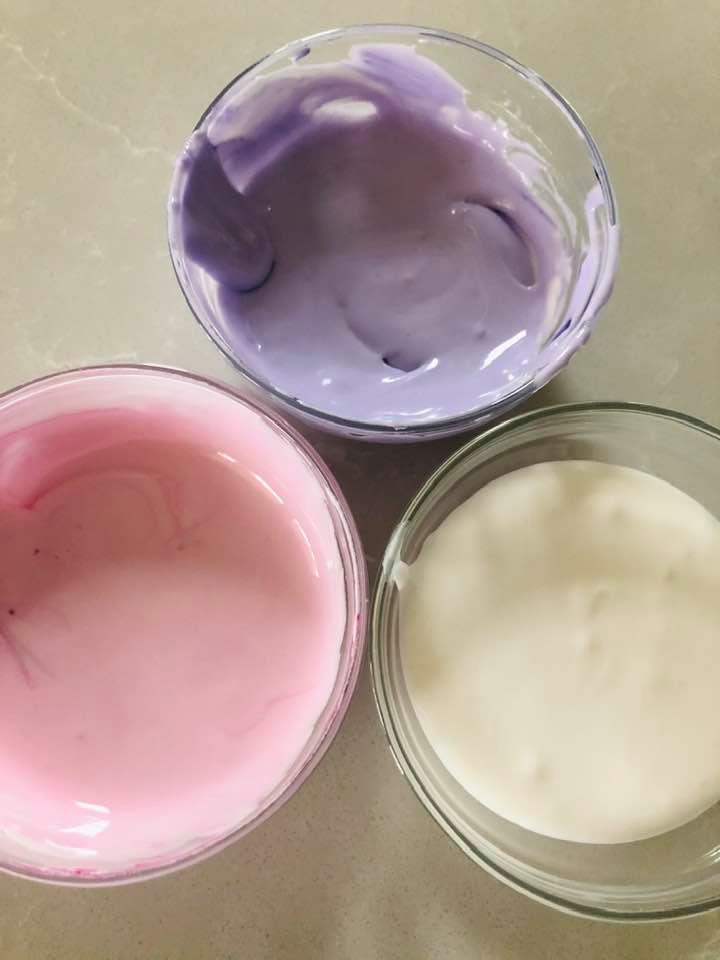
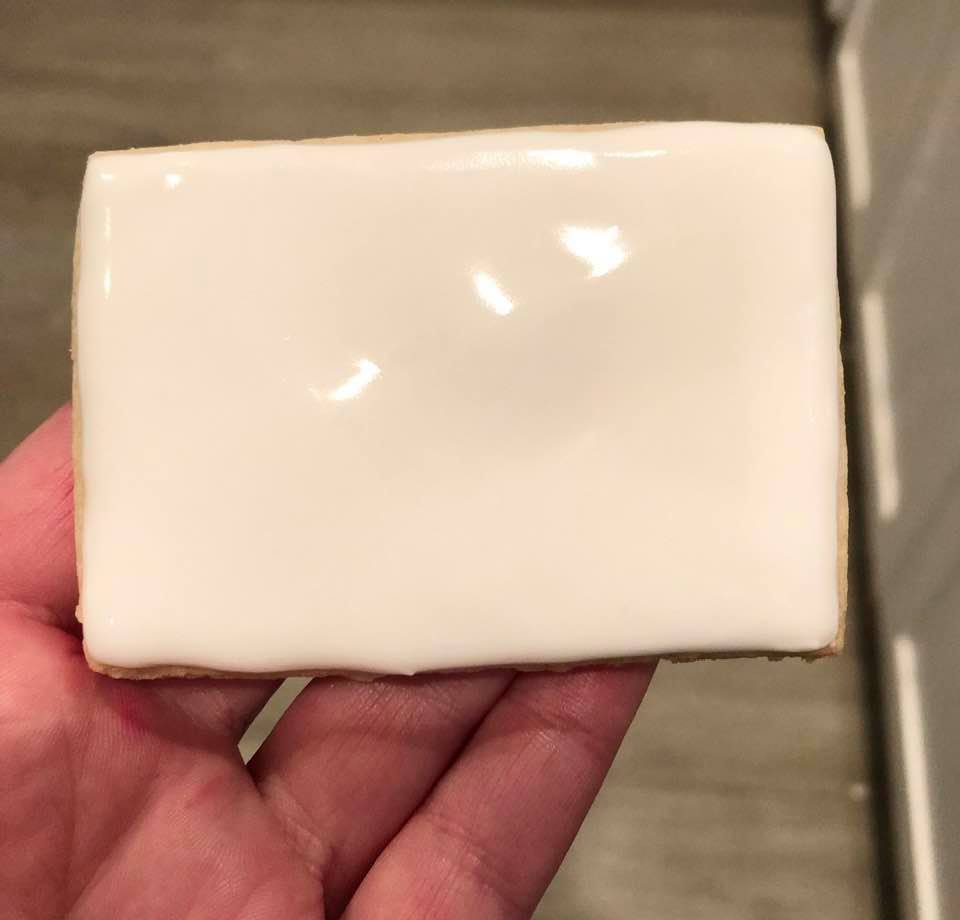
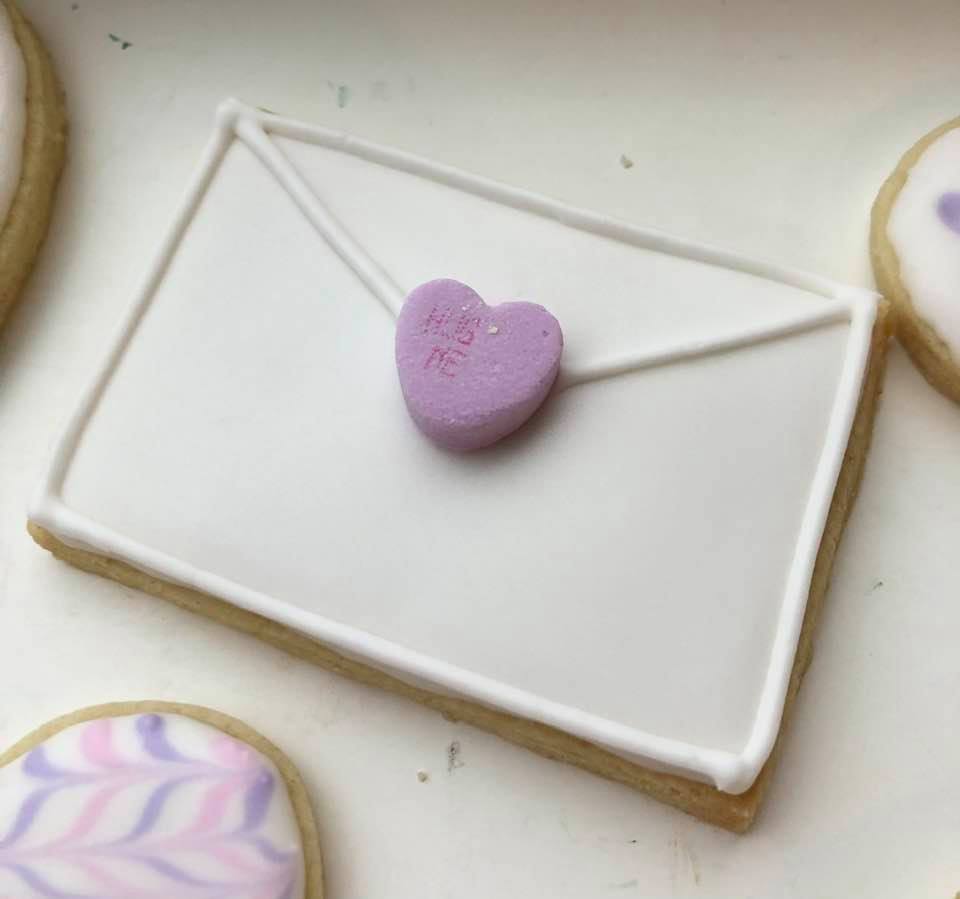
If your icing seems too thick, just add some more water, a smidge at a time! Once it’s covered completely with the white (or you can tint it a different color), let it dry down. Once it’s dry to the gentle touch, you can pipe the border around the edges, and pipe the diagonal lines to look like the flap. I always make a tiny dot in the center so I have.a guide to see where the diagonal line will stop. I put a conversation heart there as a “seal” of sorts! The icing that you use to pipe the lines will be a bit thicker than the flooding icing you used to cover the cookie!
PRO TIP: If you are intending to ship or stack these, they’ll need to dry until the royal icing is completely hard!
I think that’s it! You can alter these in any way you want to: add food dye and make different color envelopes, use other candy on them, “address” them to your Valentine, etc.! This is just a start on the ideas…they’re endless! Here are some other cookies I decorated…


Let me know if you have any questions, comments, or concerns in the comment box! And if you make them, please tag me on social media if you post them (Miranda in Charlotte on FB and @mirandainclt on IG).
If you need cookie cutters, here’s a heart one from Amazon, which will get here in time for the big day!
Lastly, please pin the following image to your Pinterest board. Not only does it help people see the recipe/post on Pinterest, but you’ll know where this is on your board for years to come! Happy Valentine’s Day! I have another post HERE about a DIY Valentine’s art project if you want to check it out!


These look delicious and so pretty!! I can’t wait to try out the recipe myself with my boys!
So excited to make these. Can you freeze or refrigerate the dough?
The beauty of this dough is that it doesn’t need to be refrigerated! I highly recommend baking right after you make the dough!
I made (another) batch of these today. My kids love them, and they don’t spread in the oven like most cut-outs I’ve tried. How do you recommend storing them?
I know! that’s what makes them so great! I just put them in an airtight container and keep on the counter! The dan’t last long! lol!
Cool! I’ve been baking sooo many cookies lately and this is very similar to mine but I chill my dough. I also roll to my thickness before I chill too. Do you know the science behind the baking powder? Is that how it helps it not to be chilled? Hmm? And who knew about McCormick almond extract! Thanks for sharing!