
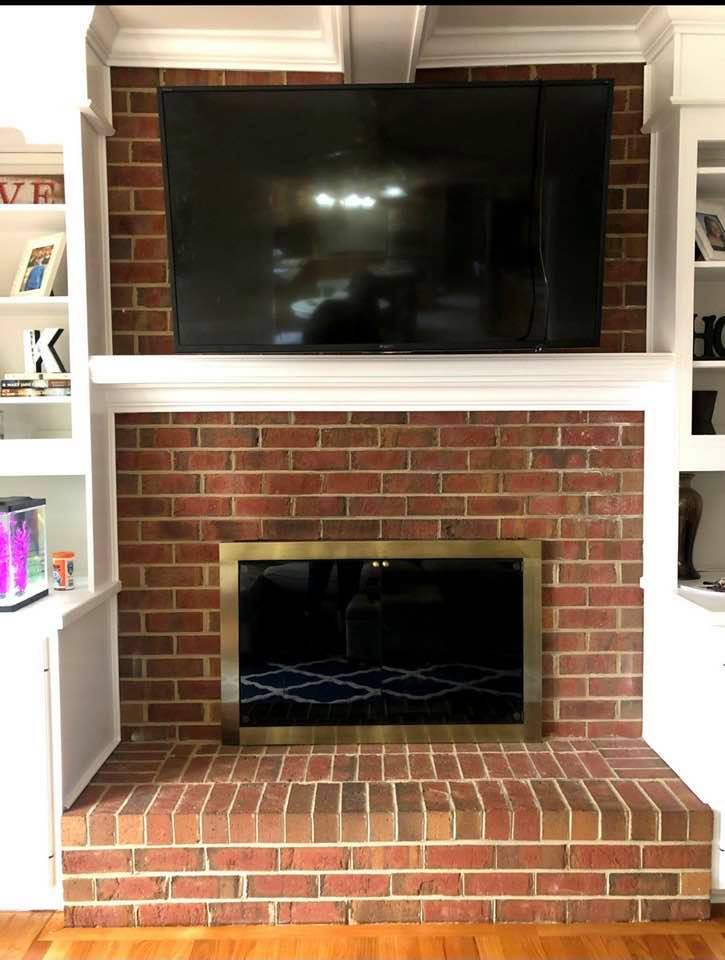
When my sister moved into her house, she had me over and pointed out the things she couldn’t wait to change. One of those things was the fireplace, which was a reddish brick. She knew she wanted it whitewashed, as she’s a farmhouse-loving kind of girl (think a lot of LIVE, LAUGH, LOVE up in there). And it was going to look so much better that way too, so I told her that I’d do it for her as my housewarming gift!
What I didn’t tell her, is that I’d never whitewashed anything before!
But I figured, HOW HARD CAN IT BE?!!! And I knew that good ol google could tell me all I needed to know. Sure enough, a simple search led me to someone on Pinterest who told me it was super easy, and that was good enough for me!
So I’m going to tell y’all the tips and tricks I learned while doing my sister’s fireplace, and hope it helps! Because although it took two things you have in your house, I’m sure, and was sooooo easy, there are a few things that could trip you up, if you aren’t aware!
Let’s start with what you DO need:
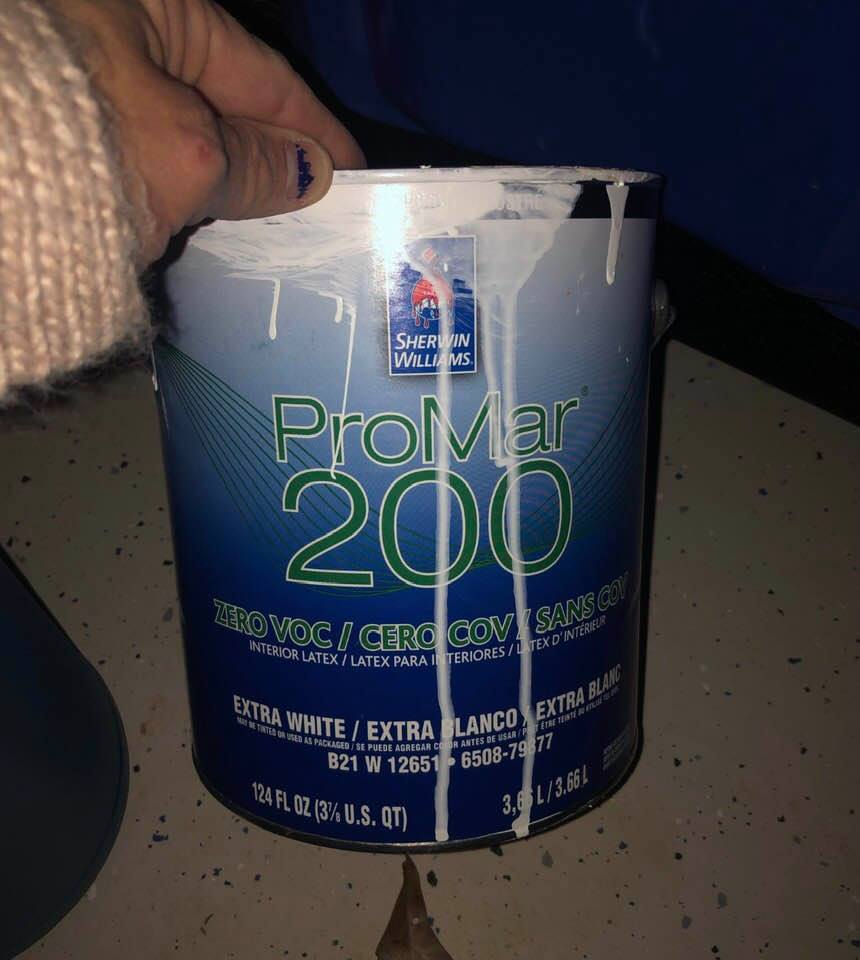
- White paint…I used trim paint that I found in my house from when it was built, and I honestly don’t think it matters what kind you use, as long as it’s acrylic.
- Water…tap water will do
- Brush…I used a 2 1/2 inch angled one, but it doesn’t matter too much, as long as it is tough enough to handle brick
- Tape…I did tape off the perimeter of the cabinets, floor, etc. (since it was my sister’s house) with painter’s tape
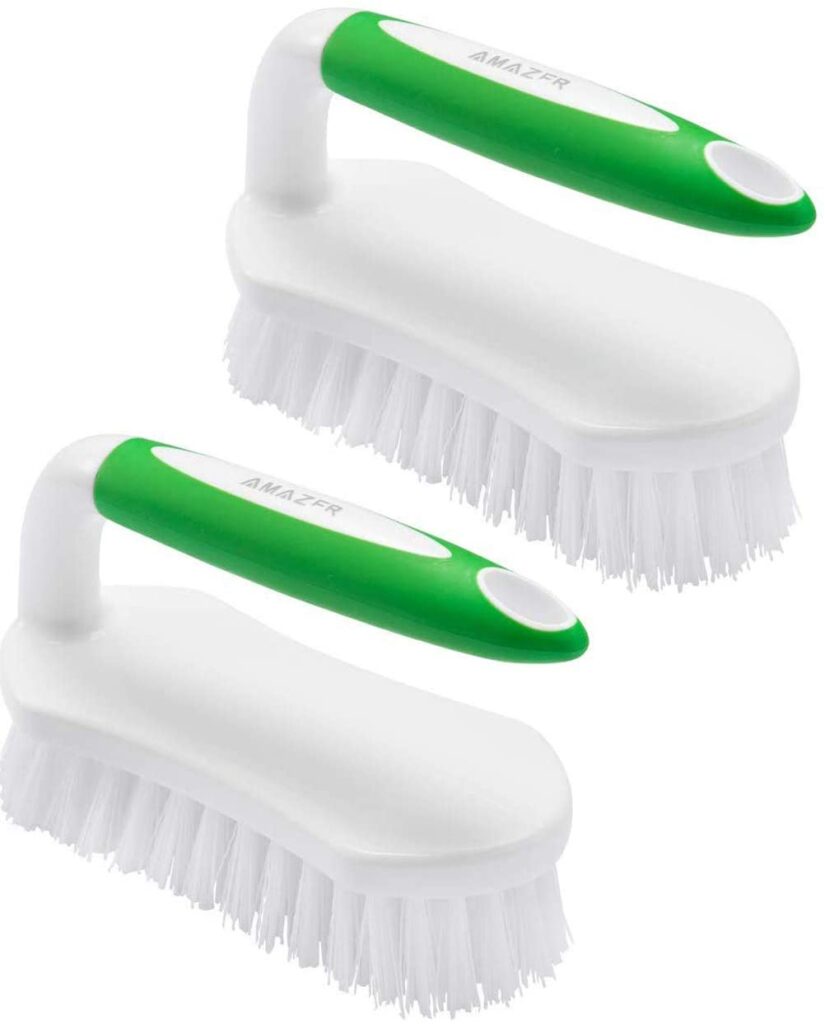
- Bristle brush/Broom…this is simply to clean off the brick before you start in case there are cobwebs, ash, soot, etc.
- Wet washcloth…I always keep one close by when I’m painting anything in case of drips, or splatters
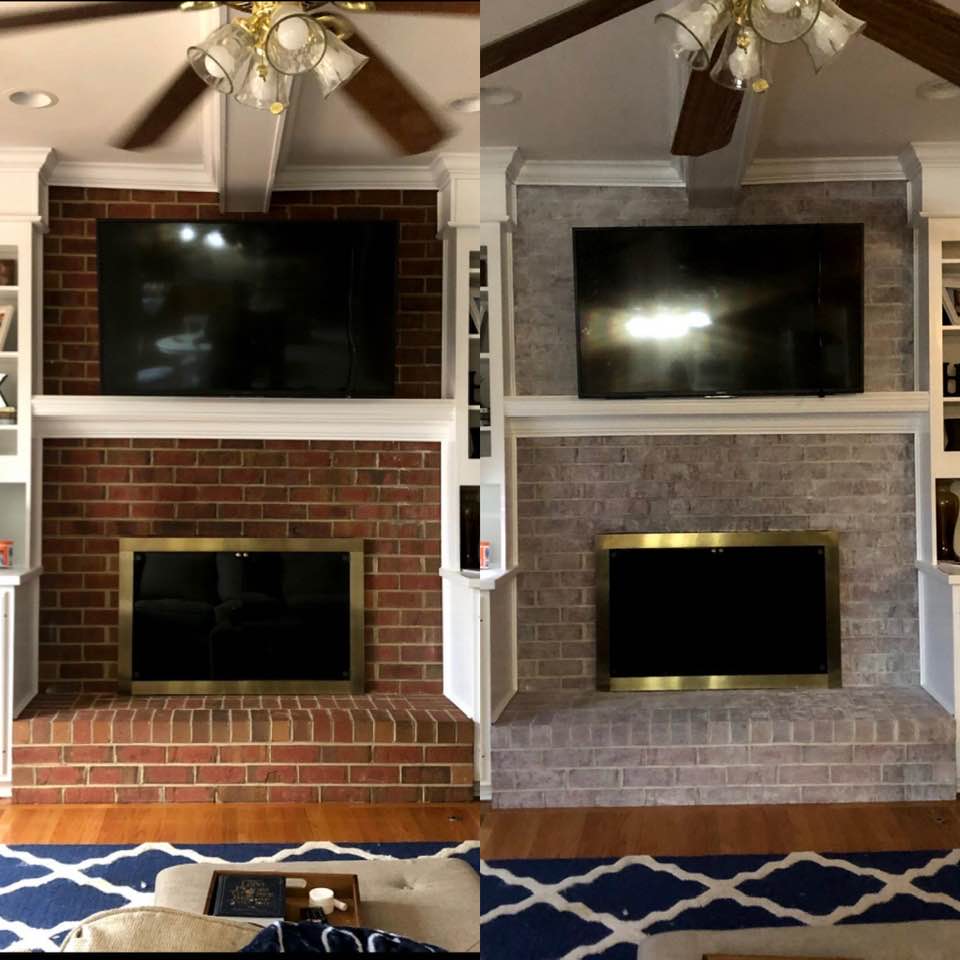
The best part about this entire list, is that I didn’t have to buy ANYTHING for this project, and you probably won’t have to either! I had everything on hand, and I think in total, I probably used less than one cup of the white paint, since it was diluted equally with the water. Here’s the before…
Step 1:
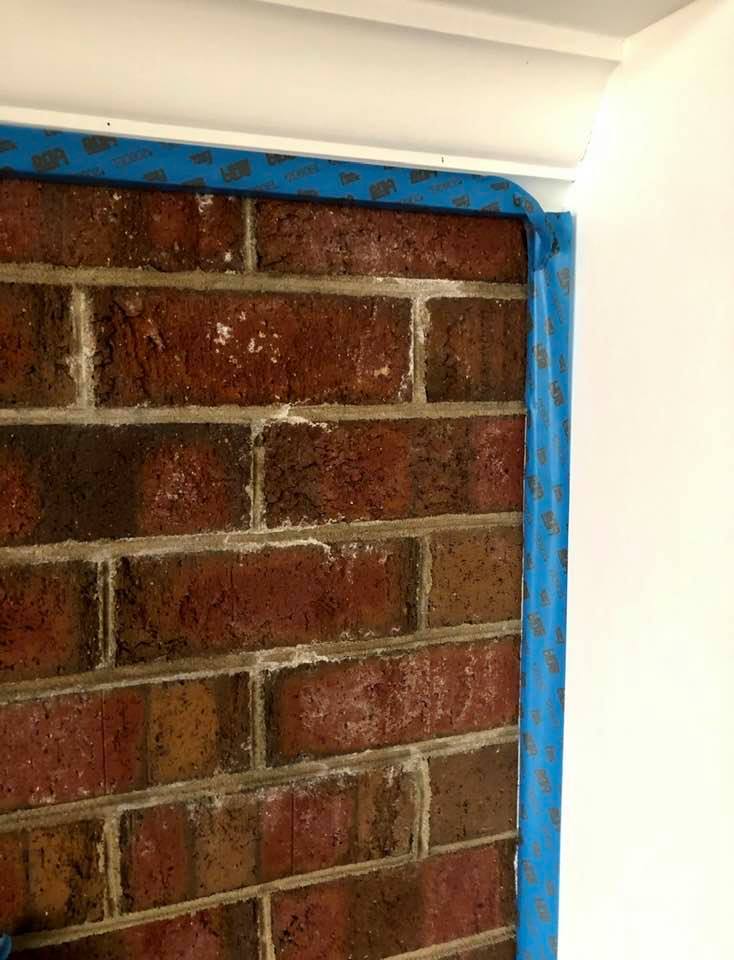
Take your bristled brush/broom, and dust off the entire fireplace. You’re going to want to get the cobwebs off, knock off any bits of brick/mortar that is loose, and any soot that may be on it. Like these…
Step 2:
Tape your mantle, sides, floor etc. It’s a little harder to cut in carefully since the mixture is so thin, so even if you’re a skilled painter, I’d tape!
Step 3:
Mix your paint and water, equal amounts. I think I did 1 cup of each, and you can always make more, so don’t worry if there isn’t enough with that first batch! I simply found white trim paint from painting my house and used that. You could also white ceiling paint if that’s what you have on hand?! All that matters is that it’s not oil-based, because oil and water don’t mix 😉
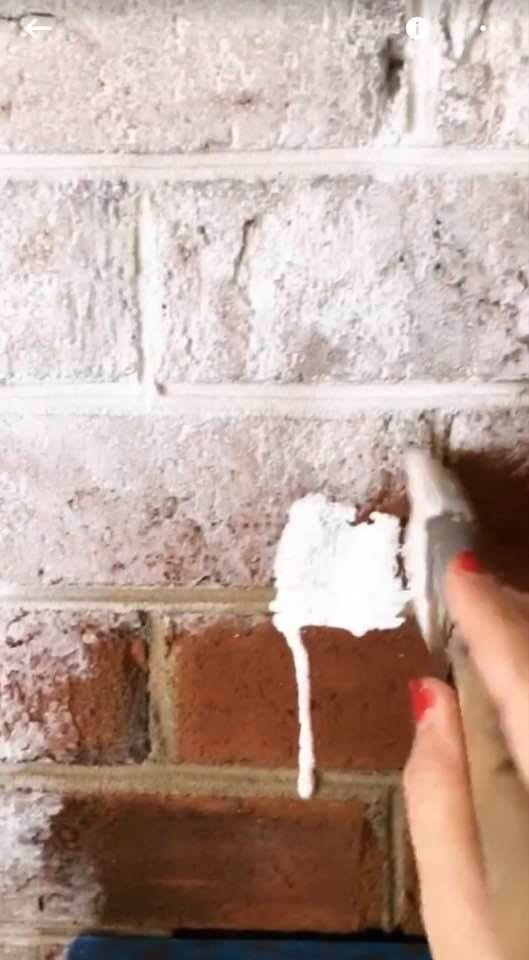
Step 4:
You’re going to work in small sections! So start in one corner and work your way over and then down, and then over, and then down. You get the picture! You simply take your paint brush with the water/paint mixture on it, and brush over the bricks in your section, making sure you get the mortar as well! You want to be aware of the dripping, as the brick is only absorbing so much, and the dripping may start a few seconds later. Don’t panic! Just take your brush and go over them again til they blend in. You can always take your wet washcloth to it if it’s too much paint. This is also a good time to mention that if you’re finding it’s covering too opaque for your taste, add more water! If it’s too transparent, add more paint! And redo that section.
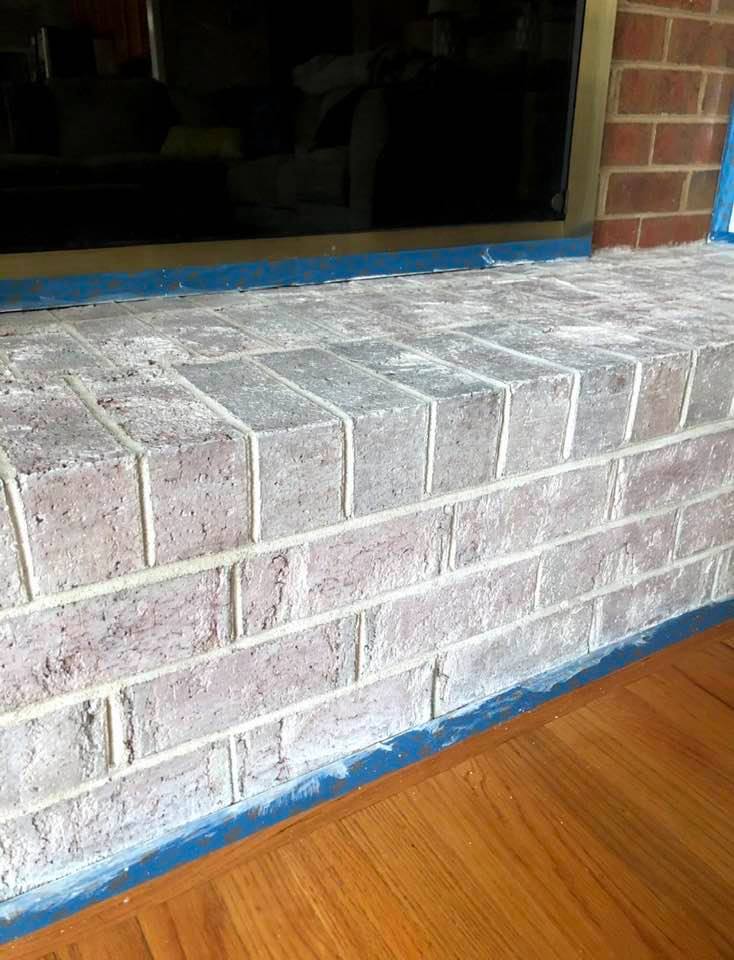
Step 5:
Keep working in sections, making sure to blend each one with the next!
Step 6:
Spot treat as needed with the wet washcloth or the paintbrush
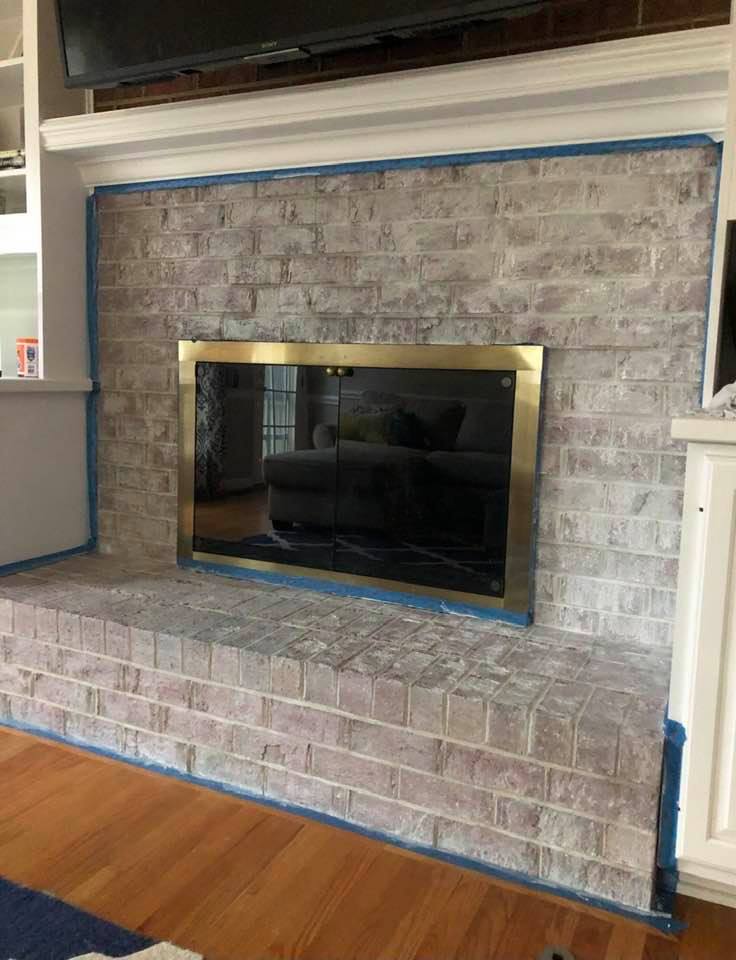
Step 7:
Remove the tape, and enjoy your great work!
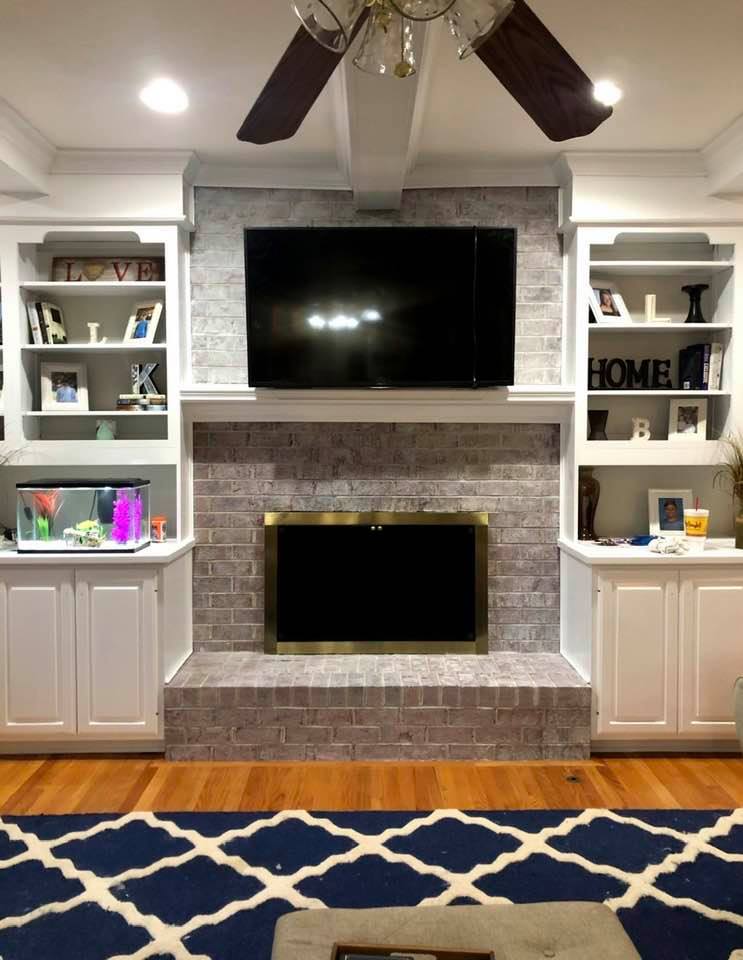
My sister was so surprised, and absolutely LOVED the transformation!! Hope this encourages you to DIY your own fireplace, and if you have any questions, please leave a comment and I’ll get back to you! Now, I need to convince her to paint the metal around the fireplace itself 😉
Here are some products I used, just in case you don’t have them already. Keep in mind, I do make a small commission when you shop through my links, at ZERO cost to you!
If you end up trying this, tag me on social media with @mirandainclt ! And don’t forget to follow me on Instagram HERE! I have a highlight bubble from doing this project called Whitewash Brick if you want to see me in action!
You can pin this image for later reference…


It’s looks awesome. Gives me hope I could do something like this in my future.
You 100% could!!!
Looks great!! And so easy!
I was actually shocked how easy it was!
Paint. Such a simple thing but makes a huge difference ❤️
My fave home product ever!